The Watercolour Dance

Playing with Water to Control (or Lose Control of) Your Paint
Hello again, fellow watercolour adventurers! 🎨
So far we’ve talked about embracing imperfection, lifting paint, and creating suggestive, impressionistic masterpieces. Today, we’re focusing on the star of the show—water. It may seem obvious (it’s literally in the name), but understanding how water interacts with your paint is the key to mastering watercolour. And if we’re being honest, it’s also where the fun begins.
Watercolour is like a dance partner. Sometimes it gracefully follows your lead and other times it takes the floor and spins you in a direction you never expected. But whether you’re in control or just along for the ride, learning how to play with water is crucial to finding your style and rhythm in this fluid medium.
Why Water is the Secret Ingredient
When it comes to watercolour, your paint only tells half the story. Water does the rest. The way you use water determines the intensity of your colours, the softness of your edges, and the level of control you have (or happily give up) over your painting.
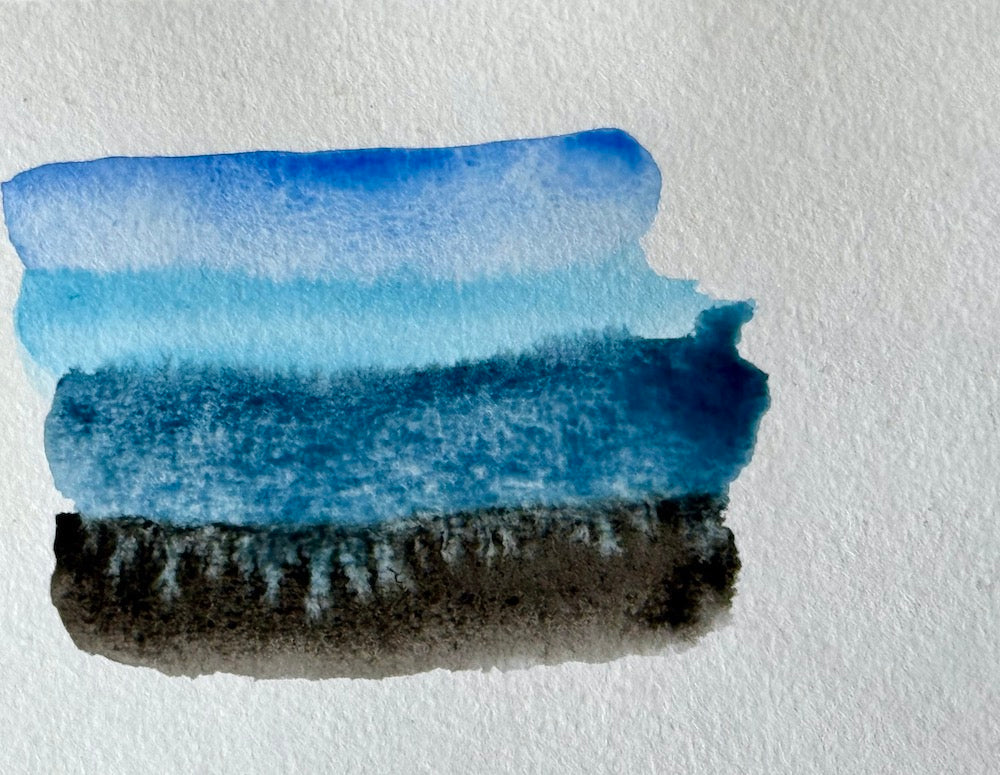
Here’s the thing: the more water you use the less control you have over the paint. It will flow, bleed, and blend in ways you may not anticipate. But that’s part of the magic, isn’t it? Letting go of rigid control and allowing the water to do its thing can lead to beautiful, unexpected results.
On the flip side, learning when to use less water can give you crisp, bold lines and more defined shapes. It’s all about striking that balance between chaos and control, like every great dance.
Balancing the Dance: Water Control 101
Learning how to balance the amount of water in your paint is key to mastering watercolour. Too much water and your colours will be faint and uncontrollable. Too little water and your paint won’t flow smoothly, leaving harsh, streaky marks.
Here’s how to take control of that balance:
1. Testing Water Levels
Before you commit to painting an area test your water-to-paint ratio on a scrap piece of paper. This way you’ll know whether your paint will flow easily or stay put.
- High water-to-paint ratio: You’ll get a lighter, more translucent colour that spreads easily.
- Low water-to-paint ratio: You’ll get a richer, more intense colour with defined edges.
What Happens When You Use Too Much Water?
We’ve all been there. You’re painting, and suddenly your paper turns into a swimming pool. Here’s what to do if you’ve gone overboard with the H2O:
-
Blot it out. Gently blot the excess water with a clean, dry cloth or paper towel. Don’t rub—just press and lift. This will absorb the extra water without disturbing the paint too much.
-
Let it dry. Sometimes, the best thing you can do is walk away and let the area dry completely. You can always go back in later to adjust or lift excess paint (check out my previous blog on lifting!).
-
Use it to your advantage. If your colours have gone rogue, see if you can embrace the chaos. Watercolour is, after all, about happy accidents!
Experimenting with Water for Creative Effects
Once you’ve got the hang of controlling your water, you can start playing around with it to create different effects. Here are a few fun water tricks to try:
- Water Droplets

After laying down a wash of colour, try sprinkling clean water droplets onto the wet surface. The water will push the pigment away, creating lighter spots and a cool textured effect. This is great for painting things like rain, snow, or just adding a bit of interest to your background.

2. Drips
Try using a pipette to add drops that sit on the paper. Fill them with a colour by gently dropping the colour from your paint brush into the droplet. Leave to dry for a droplet look or stone effect!
3. Tilting Your Paper
You can control the flow of your paint by tilting your paper. After applying wet paint, tilt your paper in different directions to encourage the paint to move and create natural gradients or flowing patterns. This technique is great for painting skies, water, or abstract backgrounds.
4: Long Drops
Drop a blob of water so it sits on the paper. Fill it with your desired colour and then tilt to get a streak or rain effect.
3. Salt Texture

This is a classic watercolour trick. While your paint is still wet, sprinkle a bit of salt on the surface. As the salt absorbs the water, it creates unique, star-like patterns in the paint. Once dry, brush off the salt to reveal the effect. Perfect for adding texture to skies or water. Try different grain sizes for larger or softer effects.
Now its your turn! Try out an abstract piece using the above techniques!

Water and Patience: The Perfect Pair
One of the biggest challenges (and rewards) of watercolour is learning patience. Water doesn’t always behave the way you want it to, and that’s okay! Sometimes, the best course of action is to let your painting dry, step back, and see where it takes you.
Remember, you can always add more layers, more details, or more water—but knowing when to stop and let things settle is an art in itself.
Final Thoughts: Go with the Flow
In watercolour, water is both your ally and your wild card. Learning to balance control and freedom with your water usage is key to unlocking your full potential in this medium. Sometimes you’ll lead and other times the water will take you in a completely unexpected direction. But that’s the beauty of it!
So, go ahead and get your brushes wet, experiment with different amounts of water and see where the dance takes you. Whether you’re creating soft, dreamy washes or bold, precise strokes, you’ll find that water is the ultimate collaborator in your watercolour journey.
Want to see more of my own watercolour dances? Head over to the Jules Smith Art Catalogue to check out my gallery and my abstract and impressionistic pieces. I’ve embraced the unpredictability of water and paint and now you can too! And don’t forget to follow me on Instagram @julessmithshots for more art inspiration and my latest work.
Happy painting, and remember, sometimes you lead the water and sometimes the water leads you. 💧🎨