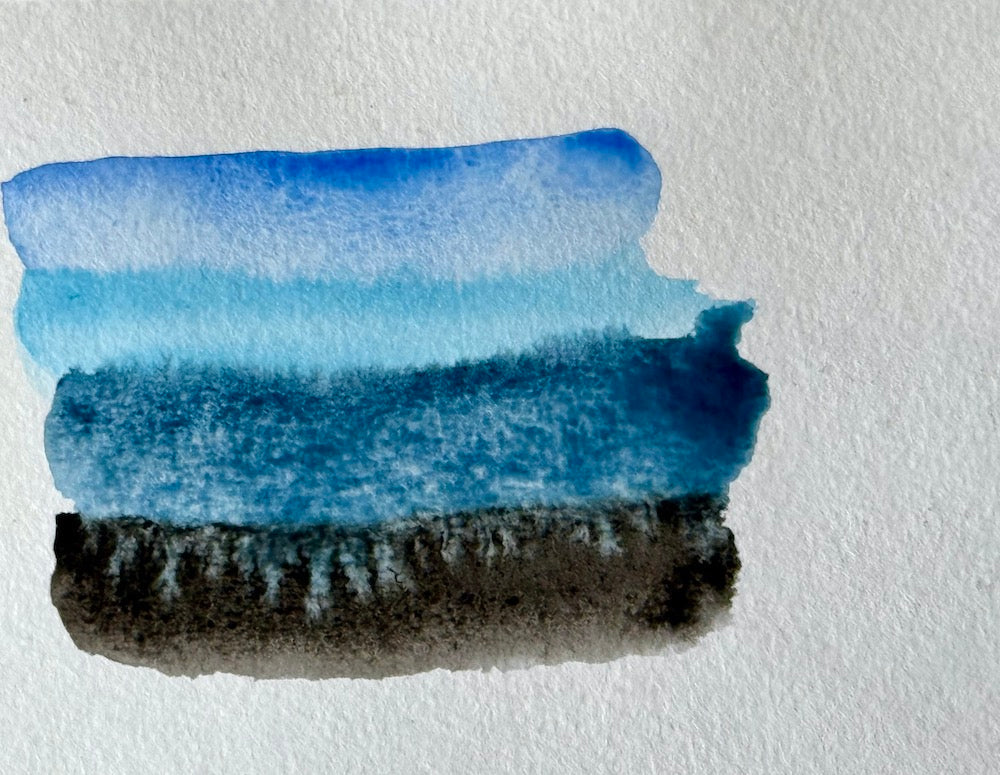
The Luminescence of Layering
Share
Building Depth and Texture in Watercolour

Hello, wonderful watercolour enthusiasts!
Welcome back to our vibrant watercolour series! As we continue our artistic journey, I hope you’re feeling inspired to experiment and explore the world of watercolour painting. In our previous blogs, we’ve tackled techniques, colour theory, and even dripped our way into glory! Today, we’re diving into a captivating technique that can elevate your watercolour work to new heights: layering.
Layering is a powerful tool in watercolour that allows you to build depth, texture, and dimension in your paintings. If you’re ready to unlock the magic of layering, grab your brushes and let’s get started!
What Is Layering in Watercolour?
Layering involves applying multiple washes of colour on top of each other to create richness and complexity in your artwork. In watercolour, this technique can help you achieve stunning effects that enhance the overall visual impact of your piece.
Here are some benefits of layering:
- Depth: Layering adds a sense of dimension, making your paintings feel more three-dimensional.
- Richness: Multiple layers of colour can create vibrant and luminous effects that are characteristic of watercolour.
- Texture: You can achieve interesting textures by combining different techniques and colour applications.
Getting Started with Layering
To master layering in watercolour, there are a few key principles to keep in mind. Let’s break them down into bite-sized tips that will have you layering like a pro in no time!
1. Start with a Light Touch
When beginning your layering journey, it’s essential to start light. Watercolour is all about transparency, so you want to build your layers gradually. Here’s how to do it:
- Use a diluted wash: When applying your first layer, use a diluted mix of paint. This will create a soft base that allows subsequent layers to show through.
- Let each layer dry completely: Patience is key! Allow each layer to dry fully before adding the next one. This prevents muddy colours and allows for more defined layers.
2. Choose Your Colour Palette Wisely
When layering, consider your colour choices carefully. Using a limited palette can help you achieve harmony and prevent your painting from becoming chaotic. Here’s how to approach your palette:
- Select complementary colours: Choosing colours that complement each other will enhance the vibrancy of your layers. For example, if you start with a warm colour, consider layering with cooler shades.
- Mix neutrals: Incorporating neutral tones can help balance your painting and provide contrast. Mixing complementary colours can create beautiful muted hues that work well in layering.
3. Techniques for Effective Layering
Now that you understand the basics of layering, let’s explore some techniques that can help you create stunning effects in your watercolour paintings.
Glazing Technique
Glazing is a specific type of layering where you apply a thin, transparent layer of paint over a dried layer. This technique creates depth and can add richness to your artwork. Here’s how to glaze:
- Ensure your first layer is completely dry.
- Mix a transparent wash with your chosen colour.
- Gently apply the wash over the dried layer, allowing the colours beneath to shine through.
4. Creating Depth and Shadows with Layering
Layering is not just about adding colour; it’s also about creating depth and shadows in your painting. Here’s how to achieve this:
- Build shadows gradually: Start with a light wash to establish the base colour. Then, use a slightly darker shade to build shadows gradually. Layering in this way helps create a more realistic effect.
- Use complementary colours for shadows: Instead of using straight black or grey, consider using a diluted complementary colour to create more interesting shadow tones. For example, if your base is a warm orange, a soft blue-grey can create a beautiful shadow.
5. Practical Exercises to Master Layering
Ready to practice your layering skills? Here are a couple of fun exercises to help you get started:

Exercise 1: Layered Landscape
- Choose a landscape scene: This could be anything from a sunset to a mountain range.
- Start with the background: Paint a light wash for the sky or distant hills. Let it dry.
- Build layers: Gradually add more layers for the foreground, using darker shades to create depth. Remember to let each layer dry before adding the next!
Exercise 2: Layered Abstract Painting
- Use your intuition: Start with random washes of colour, allowing them to blend and interact.
- Layer with shapes: Once the base layers are dry, use a contrasting colour to add shapes or patterns over the top.
- Incorporate texture: Use lifting techniques to create highlights or interesting textures in your abstract composition.

Final Thoughts: Embrace the Journey of Layering
Layering in watercolour is an exciting journey that can lead to stunning and dynamic artworks. Embrace the process, enjoy the experimentation, and don’t be afraid to make mistakes—some of the best surprises come from unexpected results!
As you practice layering, you’ll discover your unique approach and develop a style that feels authentically yours. Keep pushing the boundaries of your creativity, and remember that every layer adds to your artistic story.
If you’re excited to explore more of my watercolour creations and see how I implement layering in my work, visit my gallery here at Jules Smith Art. And for daily inspiration and glimpses into my artistic process, don’t forget to follow me on Instagram @julessmithshots.
Happy layering, and may your paintings become ever more enchanting! 🌟💧
Be here next week where we take a look at “Finding Your Artistic Voice!”